


Comprehensive instructions for preparing the base for a spray booth (based on the example of a 4x7 m size)
- ABC-Group

- 2 days ago
- 3 min read
Properly positioning a paint booth is essential for its trouble-free operation, efficiency, and user comfort. Because the booth's bottom (its perimeter) is enclosed directly by the floor, which carries massive amounts of air, the floor must meet stringent standards.
Before you begin construction, you must make three key decisions. The following step-by-step instructions will guide you through the process.
STEP 1: Selecting an extraction system
We recommend that the booth be based on a full grate (as opposed to side exhausts). This ensures significantly higher ventilation efficiency, better dust extraction, and incomparably greater comfort for the painter.
STEP 2: Locating the air handling unit
Consider which side of the cabin the control unit (so-called Box) should be placed on: at the back, on the left or on the right?
Recommendation: It is best to center the control unit on the selected side of the cabin.
Important: Regardless of whether you move the box to the edge or leave it in the middle, you must ensure free service access – at least from the two narrower sides of the control unit, and preferably around it.
(Dimension drawings of the foundations depending on the location of the control unit for a 4x7 m cabin can be found at the end of this article).
STEP 3: Selecting the type of cabin foundation
Depending on the conditions in the hall and your budget, you have three options for preparing the ground for the cabin.
Option A: Cabin recessed in the floor (entry from level "0")
This is the most convenient solution, thanks to which you enter the cabin directly from the hall level, without using ramps.
Trench Depth: Make a trench 27 cm into the floor (note: even if the technical drawings show a different dimension, stick to 27 cm!). This depth allows for a slight threshold, which the cabin door seal will fit perfectly into.
Foundation dimensions: The trench must be larger than the cabin itself. A minimum of 5 cm of extra space must be added on each side (i.e., the hole must be at least 10 cm wider and longer than the cabin). Once the unit is in place, any gaps are filled with concrete.
Be careful with slopes: When designing the recess, be sure to take into account any possible curves and slopes in the floor in front of the cabin, so that after installation there will be no problem opening the door!
Option B: Cabin standing on a flat floor (requires ramps)
If you don't want to or can't dig into the floor, the cabin can be placed directly on it. The foundation dimensions are the same as in Option A, but without the pit. Vehicles will be driven inside using special ramps.
Very important: The floor under the cabin MUST be perfectly level and dust-free (e.g. appropriate concrete/industrial screed).
What to avoid: Paving stones are not suitable for use as a subfloor! They are dusty and difficult to level perfectly. Without a good screed, the cabin will not fit properly, and air currents will lift the dust from the stones, damaging the paintwork.

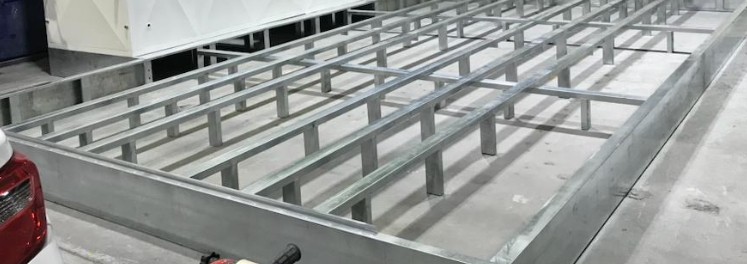

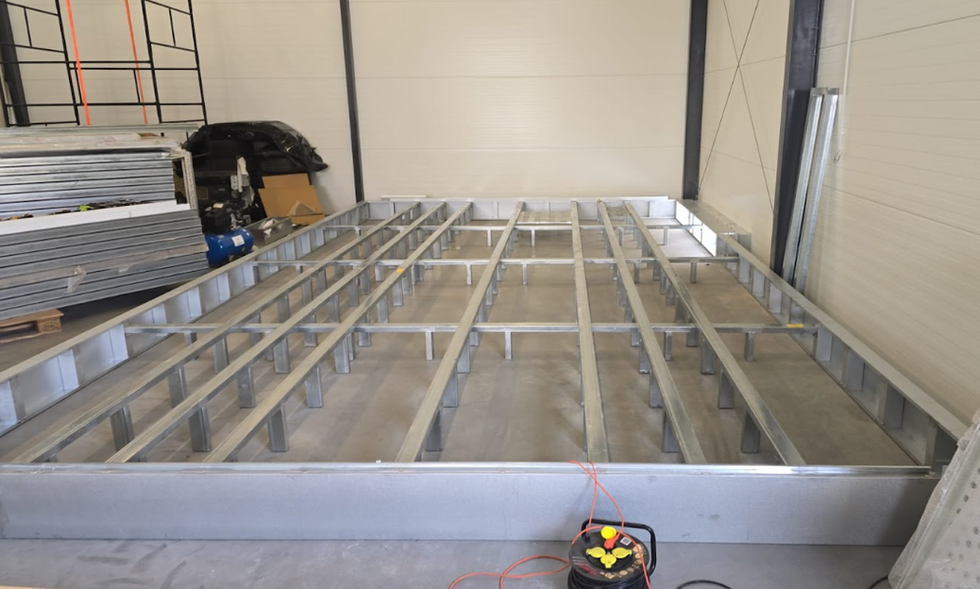
*This is what the base looks like when placed on a flat floor, from which we begin installation. The bottom must be even and dust-free.
Option C: Purchase a dedicated base for the base (frame on legs)
This is an extremely practical solution if you already have poured paving stones or a curved floor and do not want to carry out masonry work (pouring the foundation).
You're purchasing an additional steel structure (the base for the cabin). It's made of galvanized profiles, insulated internally, and equipped with adjustable legs.
Costs: For a 4x7 m cabin, the cost of such a base is PLN 22,000 net + assembly PLN 4,000 net.
Pros: You can place the cabin on a block. The legs allow for precise leveling on uneven terrain.
Disadvantages: This solution increases the overall height of the cabin (the need to use higher ramps).
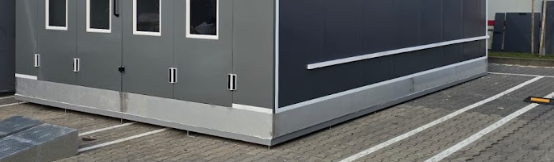

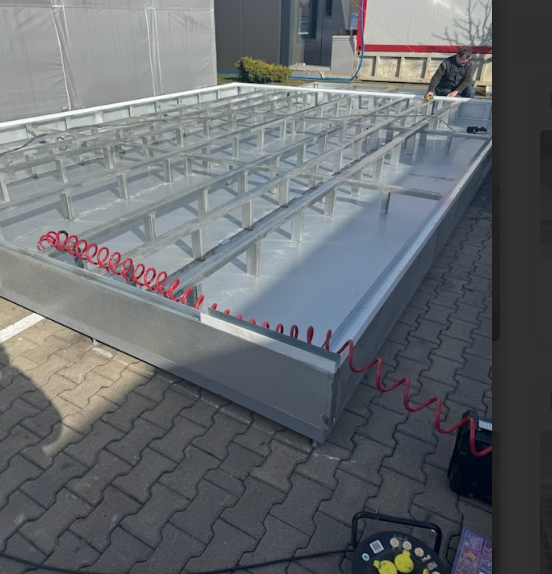

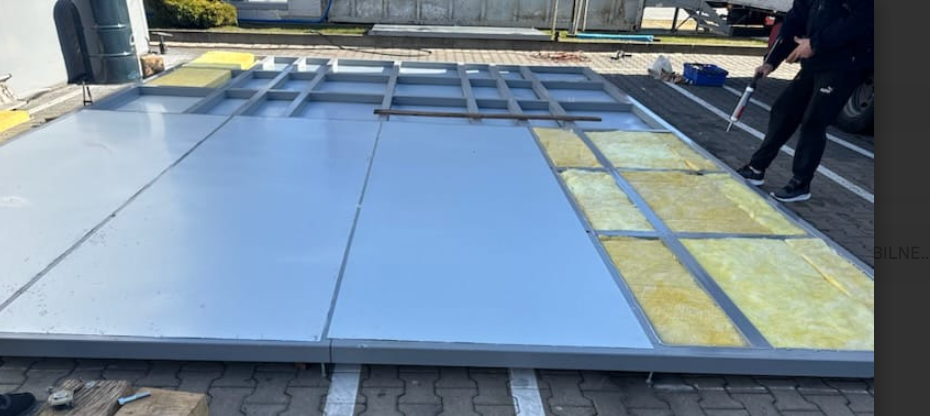
*Illustrative view of the cabin placed on an additional base.
The height adjustment range of the dedicated base (on legs) is presented in the diagrams below:

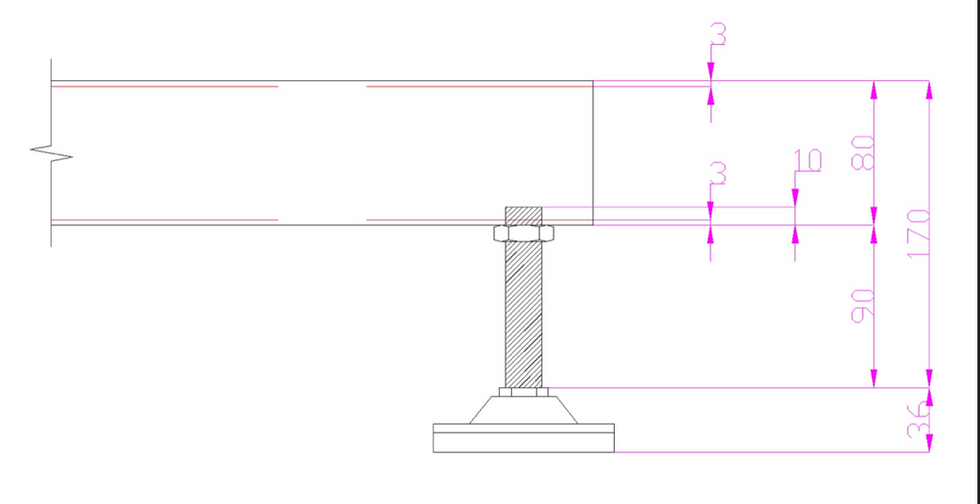
*Base height with legs fully extended.

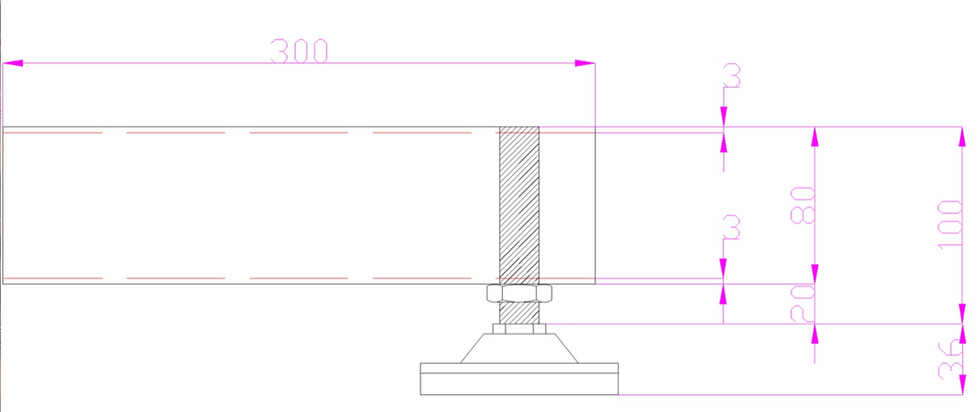
*Minimum base height with legs twisted.
IMPORTANT INFORMATION FOR CONSTRUCTION CONTRACTORS
When providing technical drawings to the person installing the foundation, be sure to print and provide them with this manual as well! Proper dimensions of the overhang (at least 5 cm per side) and the depth of the recess (27 cm) are critical for subsequent installation.
Foundation diagrams (4x7 m cabin)
Below we present diagrams of how to construct the foundation depending on which side you decide to place the ventilation unit (Box):
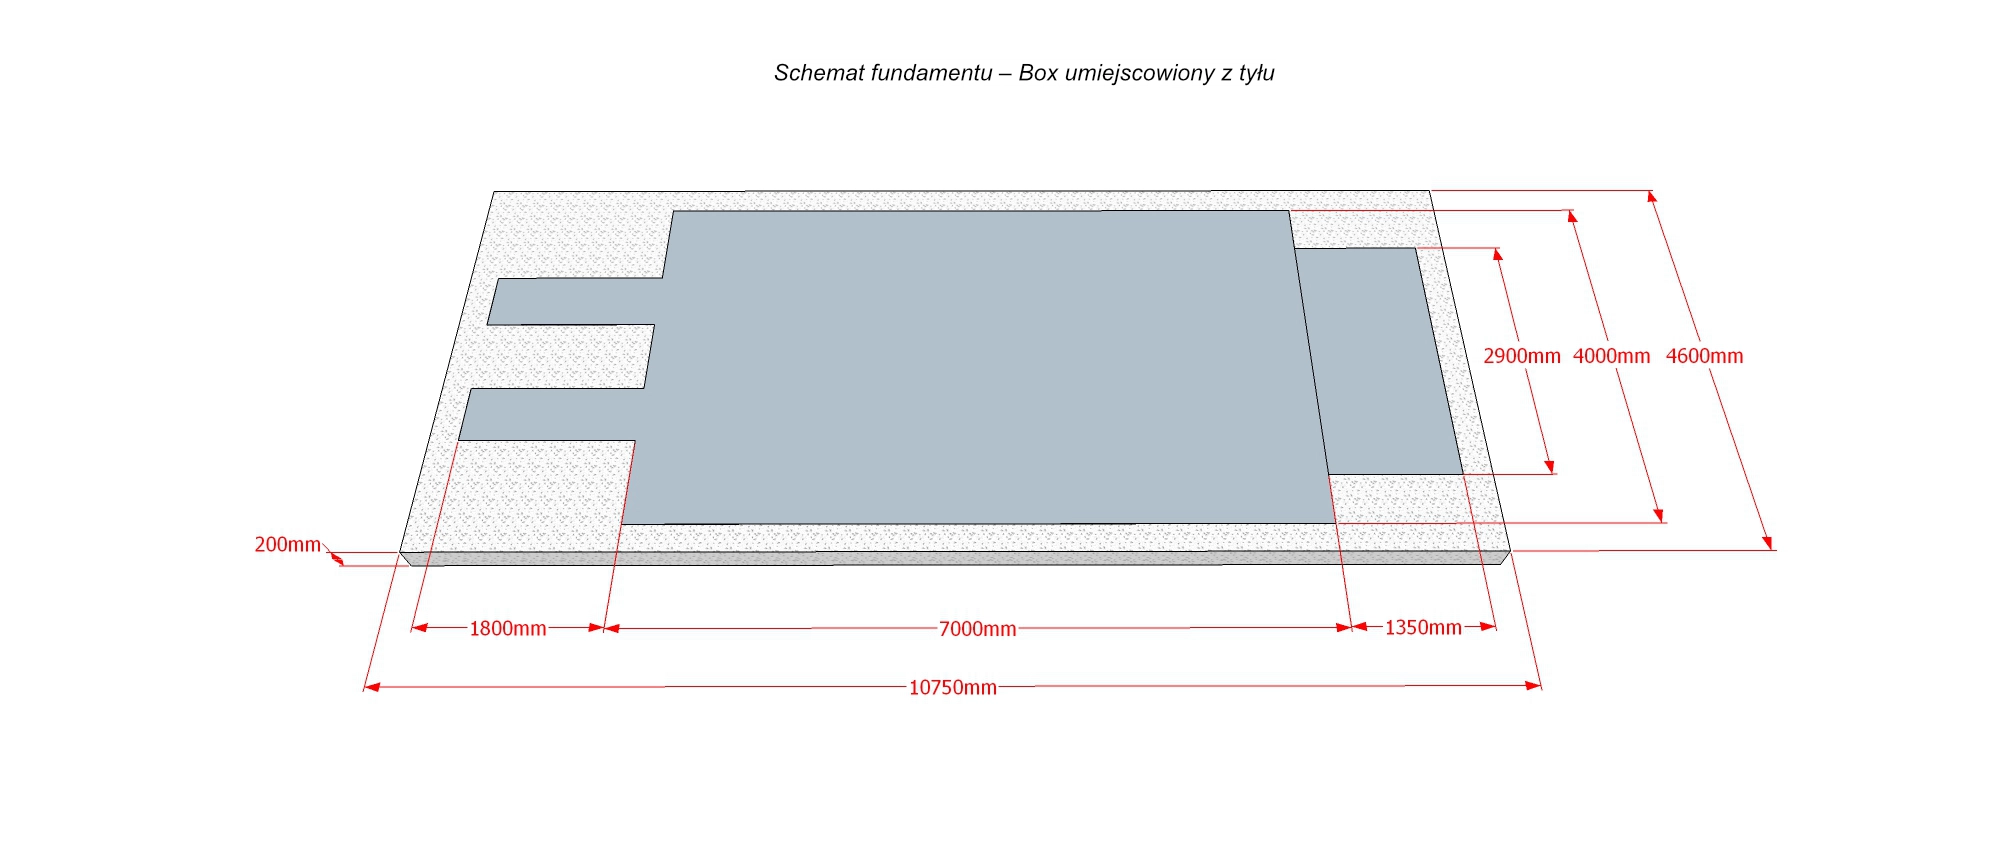
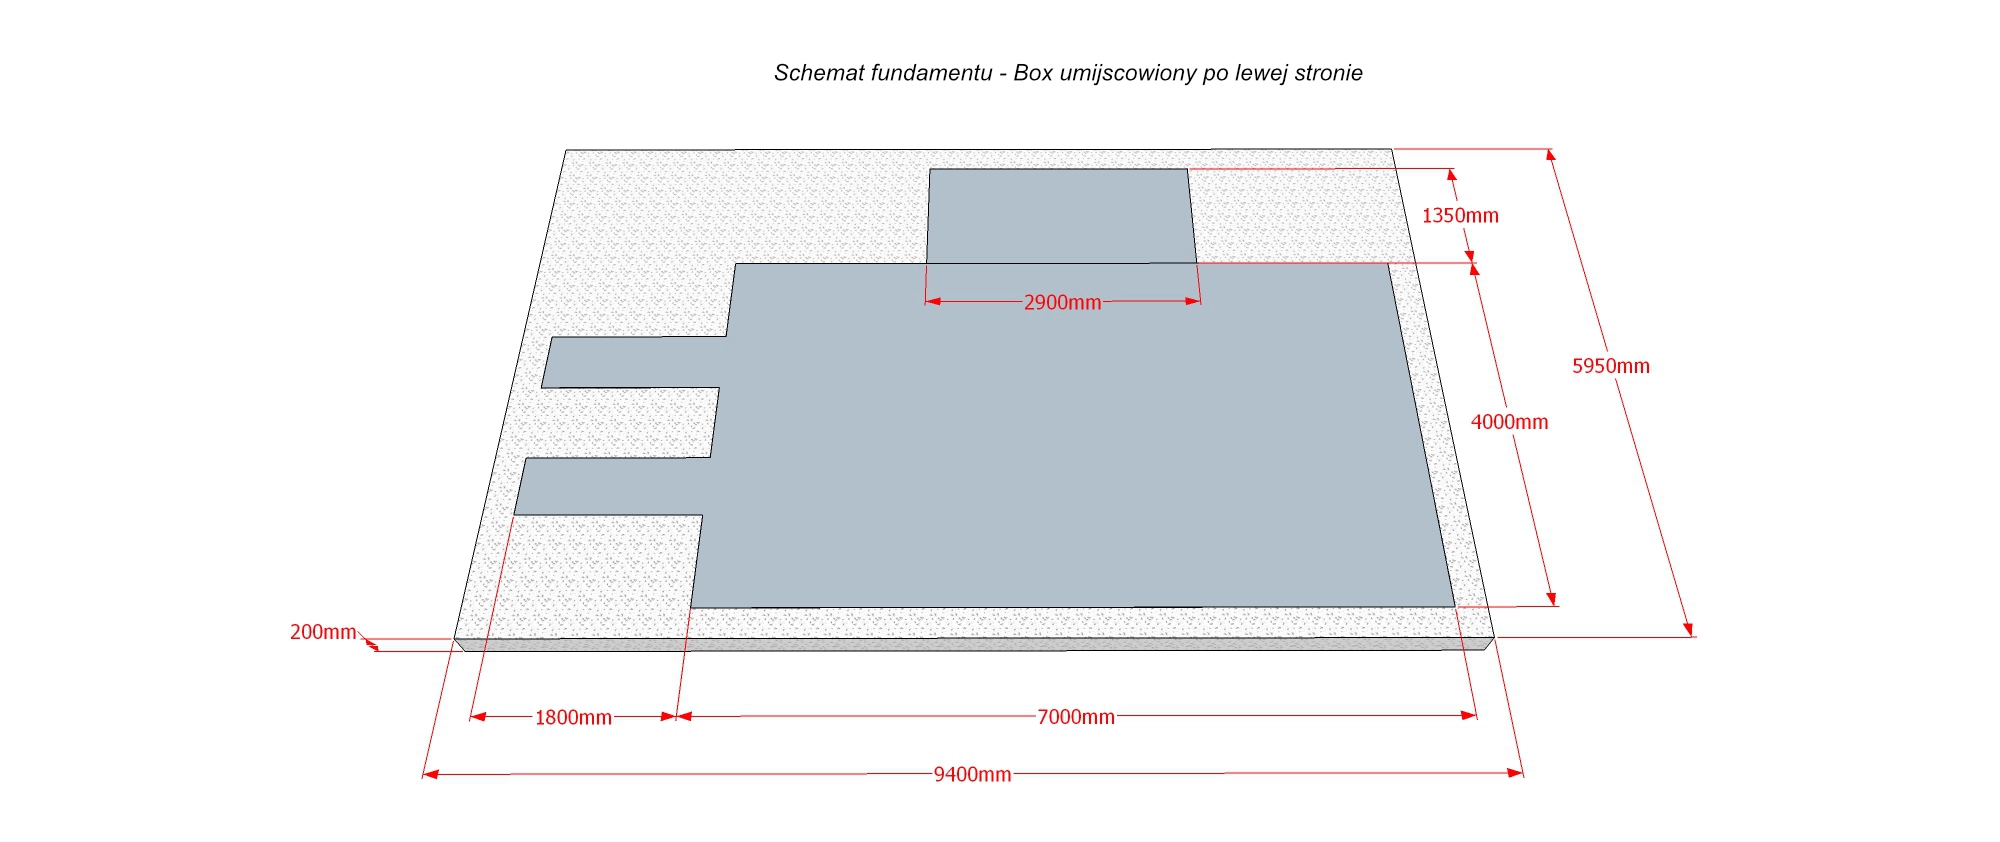
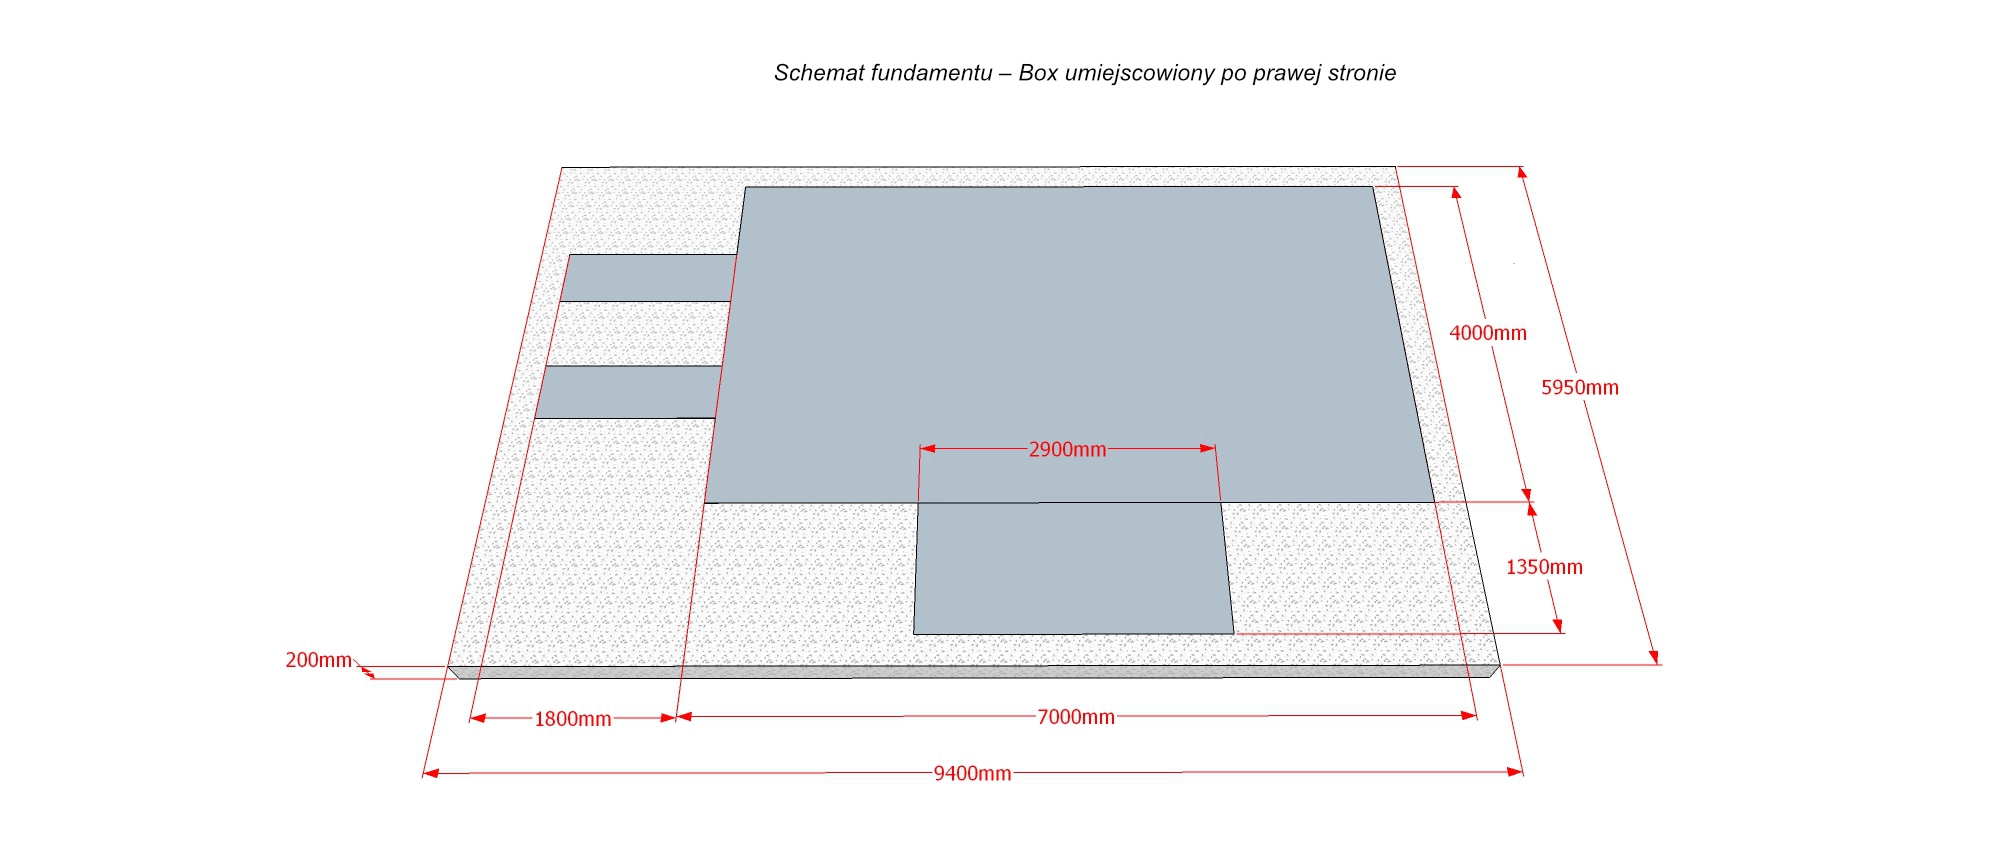
If your cabin has dimensions other than 4x7 m, please contact us –
we will prepare dedicated dimensional drawings!


